Maintenance Tips

QUICK CAMP GUIDE
USING THE LEVELING SYSTEM
Leveling control panel is located on the drivers side of the Fifth Wheel (Fig. A). Make sure 5th wheel is parked on a level surface and tires are chocked.
UNHITCHING
• Press “POWER” Button (Fig. A1) and then press “FRONT” Button to extend front landing gear jacks. Drivers side jack will come down first, followed by Passenger side.
• Both jacks should touch the ground and take the weight of the 5th wheel off the hitch.
• Uncouple 5th wheel and pull tow vehicle clear.

AUTO LEVELING
• Press “POWER” button (Fig. A1) and then press “AUTO LEVEL” button (Fig. A2)
• Auto leveling sequence lasts 1–2 minutes—Do NOT touch additional buttons during this time.
• Beep will sound and control panel display (Fig. A3) will read “AUTO LEVEL SUCCESS!”
MANUALLY LEVELING
• Use Up and Down arrow buttons (Fig. A4) to scroll through display menu until you see “MANUAL MODE”
• Push corresponding Jack Control Buttons (Fig. A5) to extend jacks independently
– FRONT Button—Both front jacks
– REAR Button—All middle and rear jacks
– LEFT or RIGHT Buttons—All respective jacks on that side
• RETRACT Button—Places system in retract mode
INTERIOR CONTROL PANEL
Located inside, this panel controls your sliderooms, awnings, water heater, tank and battery monitors, tank heaters, and select lighting features (Fig. B)

SLIDEROOM (Fig. B1)
• Push and hold “SLIDE” switch until slide is fully extended or retracted.
• Release button and repeat for each slide.
AWNINGS (Fig. B2)
Push and hold Awning button to “Extend” or “Retract” the awning.
WATER HEATER (Fig. B3-4/Fig. C1)
Using LP Gas
• Make sure LP tanks are open and full
• Turn on “GAS” switch (Fig. B3)
Using Electric
• Turn on “ELECTRIC” switch (Fig. B4)
• If available, turn on switch located on front of water heater
AIR CONDITIONERS
• Each AC is controlled by a separate wall thermostat.
• Push “MODE” button (Fig. D1) to cycle through to “COOL HI” or “COOL LO”.
• Push “TEMP UP/DOWN” arrows (Fig. D2) to set desired temperature.

FURNACE
• Furnace is controlled by the middle or rear AC wall thermostat (Fig. D).
• Push “MODE” button (Fig. D1) to cycle through to “HEAT”.
• Push “TEMP UP/DOWN” arrows (Fig. D2) to set desired temperature.
FRESH WATER SYSTEM (WATER UTILITY PANEL)
Water functions are controlled by the Water Utility Panel located in the pass-thru storage bay (Fig. F)
• Using City Water Supply
– Connect a fresh water hose from water supply source to “City Water” hose inlet (Fig. F1)
– Turn handles to “City Water” configuration (Fig. F2)
• Using Fresh Water Tank
– To fill your fresh water tank, connect fresh water hose from water supply source to “City Water” hose inlet (Fig. F1) and turn handles to “PowerFILL” tank position (Fig. F2). Remove fresh water hose when finished filling.
– To access water from your fresh tank, turn handles to “DRY CAMPING” position (Fig. F2) and turn “PUMP” switch ON (Fig. F3 or Fig. B5).

EMPTY HOLDING TANKS
• Connect flexible sewer hose (owner supplied) to termination outlet on the off-door side of the RV (Fig. G1).
• Pull termination valve handles open. Empty black tank(s) first, followed by grey tanks. Close termination valve handles and remove sewer hose when finished (Fig. G2).
• To empty the fresh water tank, pull the white gate valve handle located under the coach. Close valve handle when finished. (Fig. G3)

OVER THE AIR (LOCAL) TV
• Turn “ON” green LED located on the booster switch inside pass thru storage area (Fig. H1).
• Utilize television remote control to access TV menu and scan for channels.
CABLE TV
• Connect cable from the park to the corresponding “CABLE” input located on the water utility panel (Fig. H2).
• Turn “OFF” green LED located on the booster switch inside pass thru storage area (Fig. H1).
• Utilize television remote control to access TV menu and scan for channels.

SATELLITE TV
• Connect satellite dish to “SAT” input on front of Water Utility Panel (Fig. I1).
• Locate the unconnected ends of the Dedicated Satellite Coax Lines found behind a panel in the pass thru storage area (Fig. I2).
– One line is connected to the backside of “SAT” input on the Water Utility Panel
– Each additional line is a direct run connected to the wall plate behind each TV location
• Connect the desired dedicated satellite coax line to the backside of the “SAT” input on the Water Utility Panel (Fig. I3).
• Connect satellite receiver to the TV per satellite providers instructions.
• Utilize television remote control to select satellite input on the TV.

PROPANE (LP) SYSTEM
• If it’s your first time using the LP system, verify that the tanks are full. Low LP levels can impact furnace and water heater ignition.
• Turn on LP system by opening the valve on top of the propane cylinders (Fig. K1).
• The built in LP regulator will automatically switchover from the supplying tank to the reserve tank when empty.

TRAVEL CHECKLIST
Before travelling with your new coach following are a few checklist items to help ensure your unit is secure and ready for travel:
✓ Windows closed
✓ Dinette chairs secured
✓ Refrigerator doors secured
✓ Passage and closet doors secured
✓ Pull-out fireplace travel latch engaged
✓ Glass shower door properly secured
✓ Cabinet doors and drawers shut
✓ Awnings fully retracted
✓ Sliderooms fully retracted
✓ Turn off all appliances and HVAC systems
✓ Entry steps secured in stowed position
✓ Entry door closed and locked
✓ Exterior baggage doors latched closed
✓ Power cord detached and stored
✓ Propane system turned off
✓ Check tire pressure
✓ Dump holding tanks
✓ Tow vehicle properly hooked up to fifth wheel
✓ All leveling legs fully retracted
HAVE A QUESTION?
The Alliance RV Group Facebook page is a great place to get quick answers to many Alliance related questions. There are thousands of knowledgeable Allies, and several Alliance team members there to assist.
Service Inquiries – service/warranty, troubleshooting, or technical advice:
• Email: service@alliancerv.com
• Phone: 574-226-0140 & Press 1
Parts Inquiries – part numbers, status, availability:
• Email: parts@alliancerv.com
• Phone: 574-226-0140 & Press 3
Sales Inquiries – product info, unit order status, plant tours:
• Email: sales@alliancerv.com
• Phone: 574-281-9869
V2—11.11.21
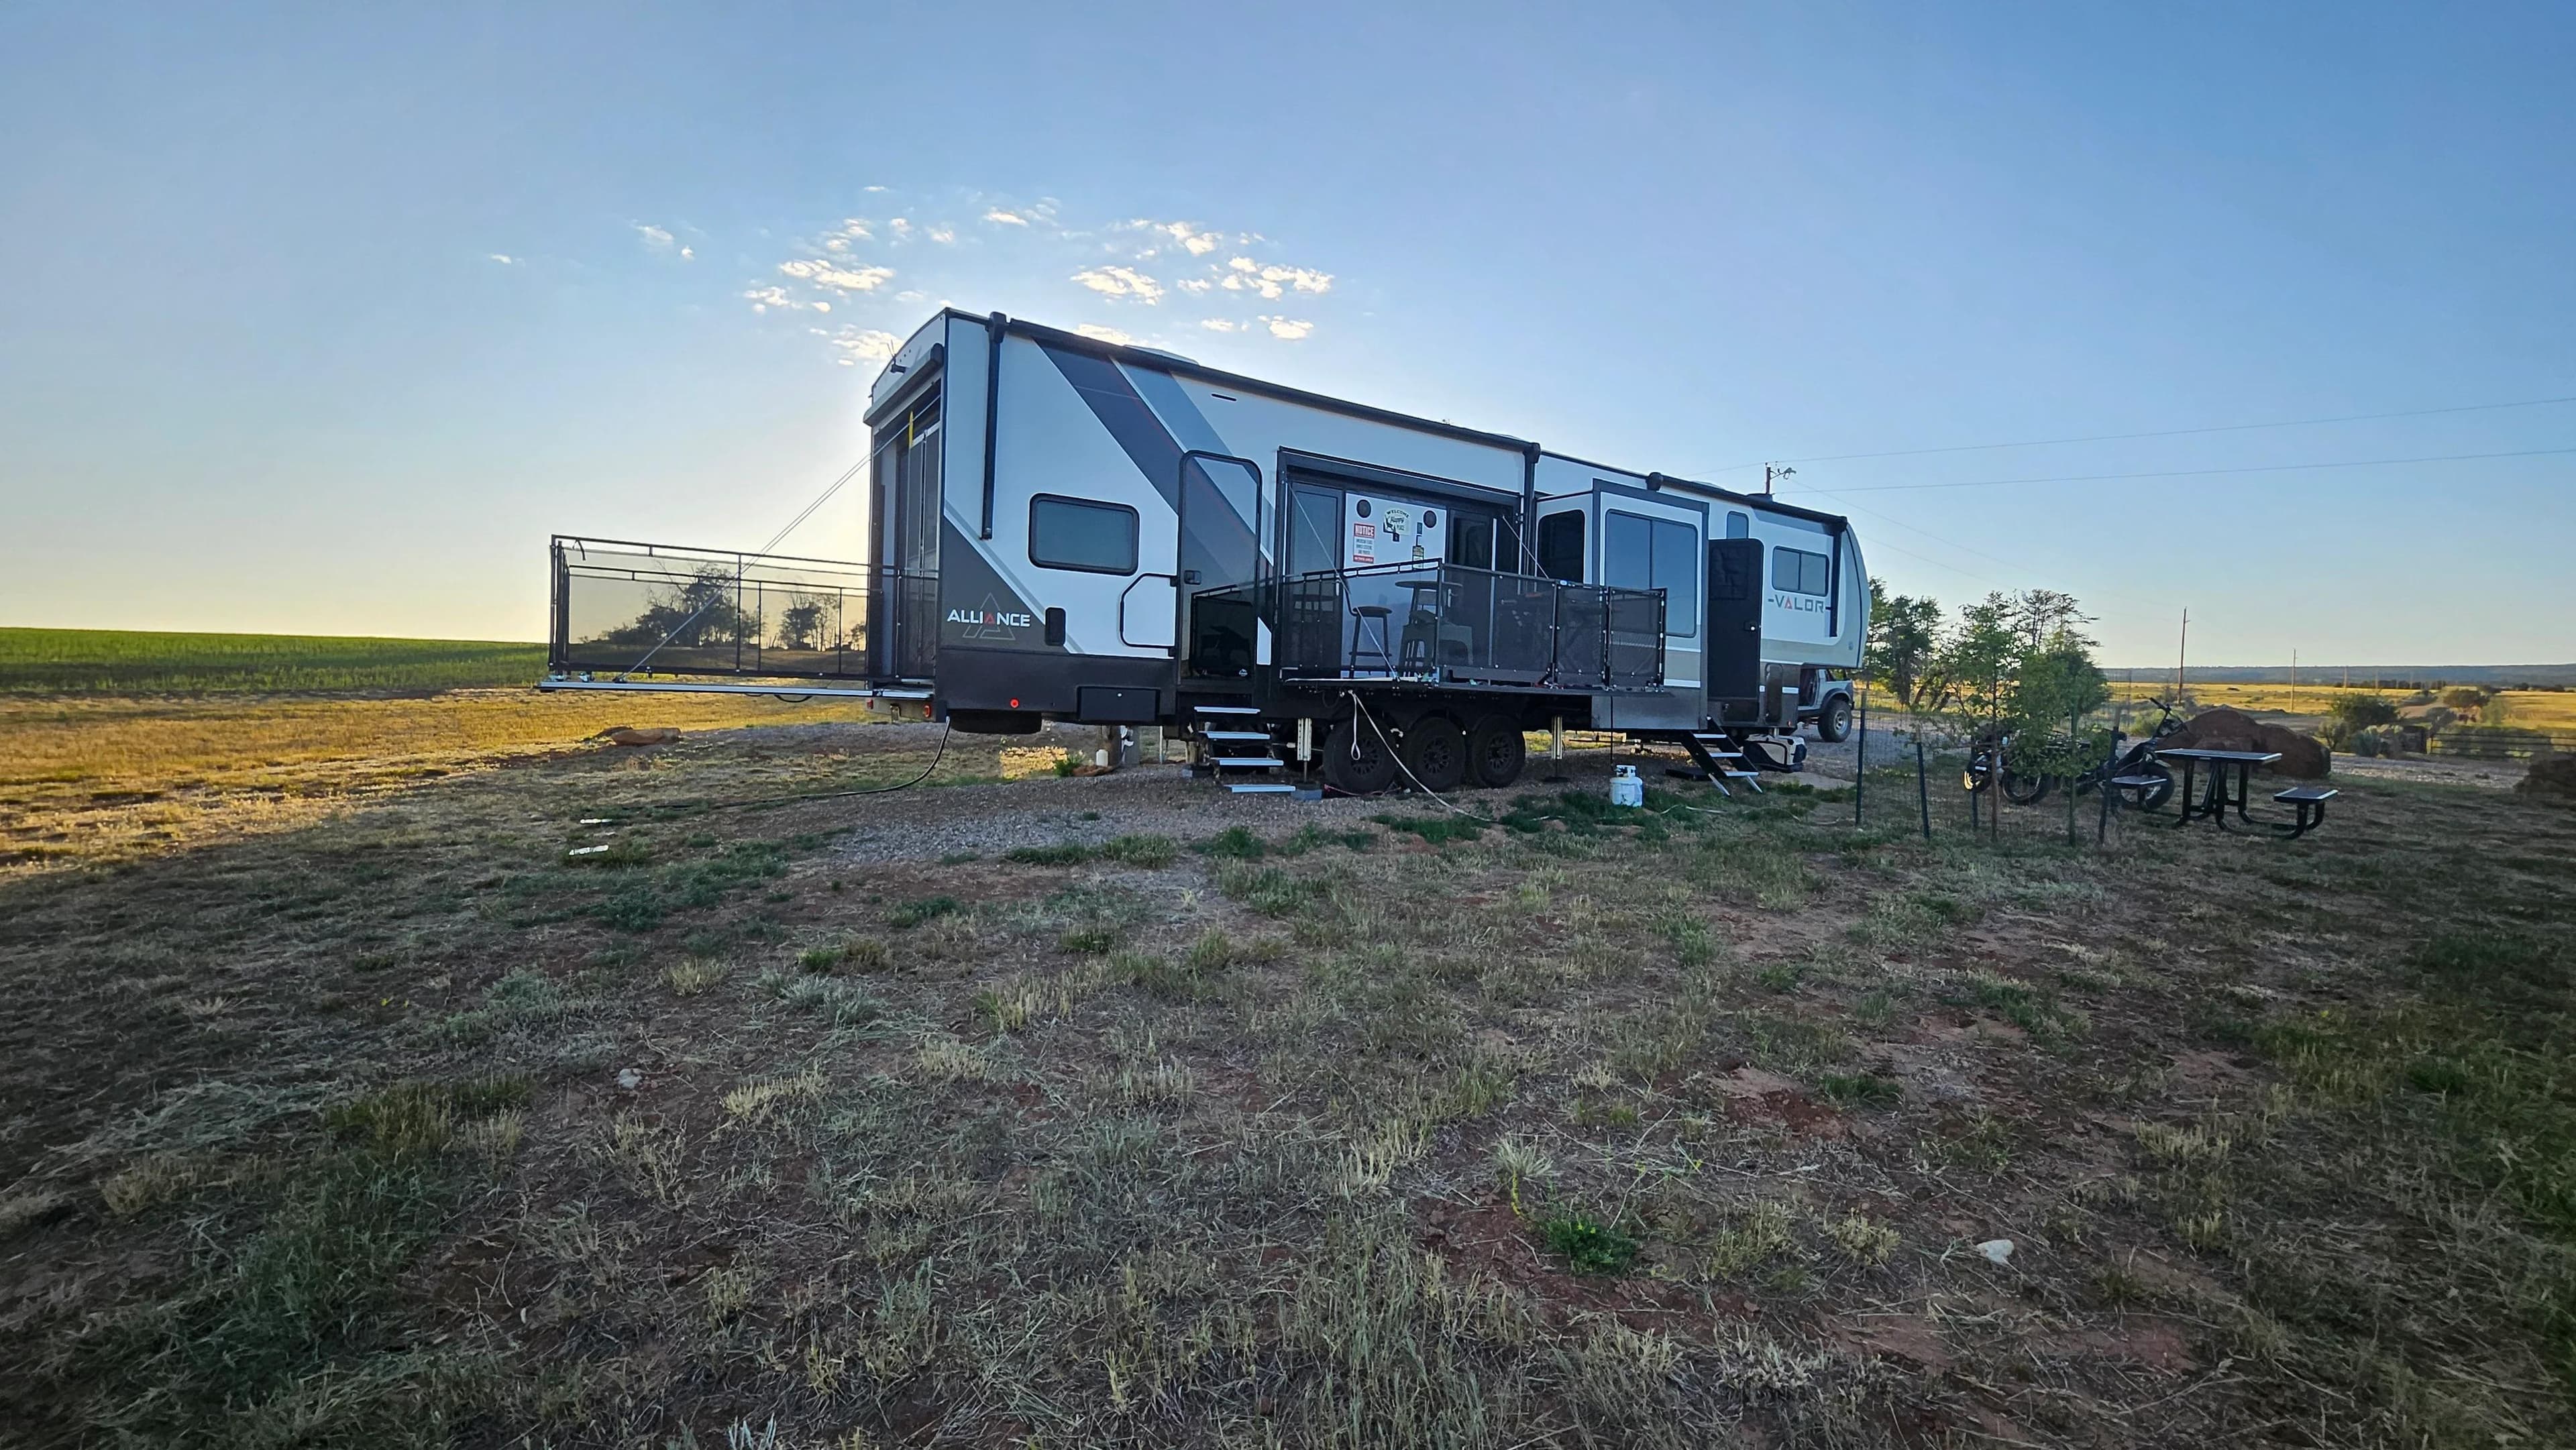
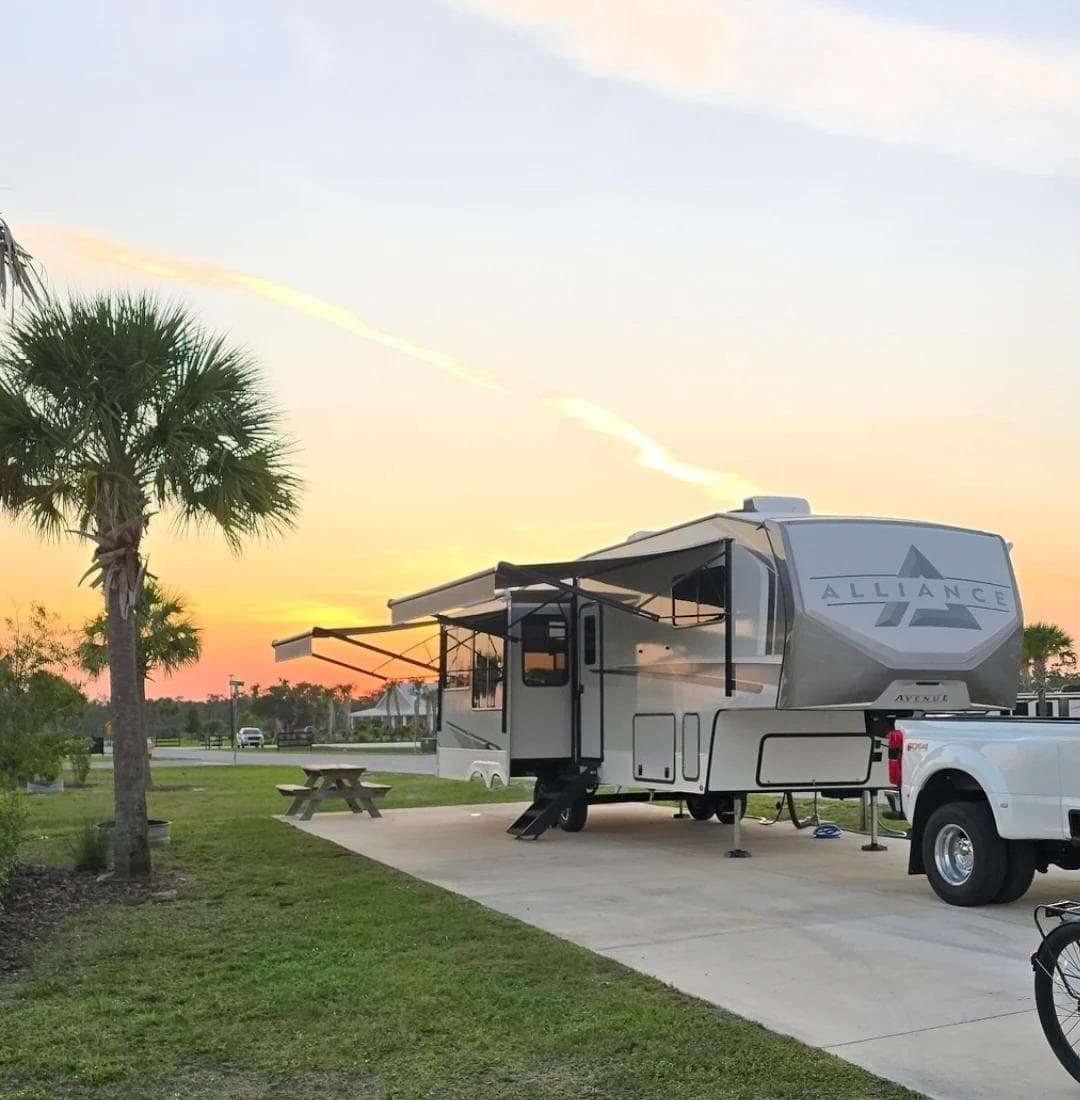
The Alliance Community
Hear from Alliance RV owners living their best adventures
Join The Alliance Family
Get exclusive updates, adventure tips, and special offers delivered to your inbox.